Editing your Landing Page
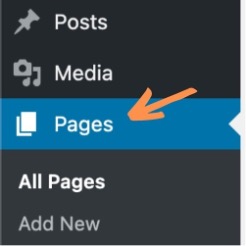
Step One: On the left-hand taskbar, navigate to “Pages.”
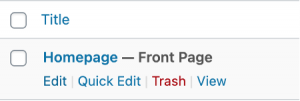
Step Two: Once you click on that tab, you will see “Homepage” and that is where you can find the rest of the content on your landing page.
Step Three: Once you’re on the homepage in the backend, you’ll have to scroll down just a bit where you’ll see a section titled “Landing Page Fields.” This is where you’ll be able to edit content like the features, the testimonials, etc. When you go into each section, you’ll see text fields and that’s where you’ll add your content such as texts and images.
![]()
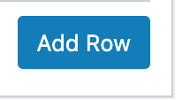
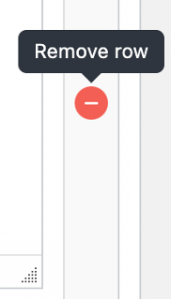
Step Four: Certain sections allow you to add more content and most sections allow you to remove any unwanted boxes of content. The sections that allow you to add more rows for content will have a blue box that says “Add Row.” In order to remove rows of content, hover over the gray bar on the right-hand side of the boxes and you will see a minus sign that says “Remove row.”
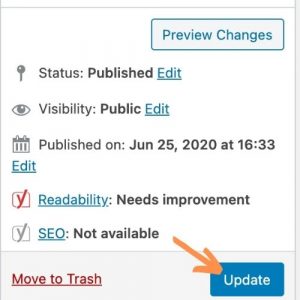
Step Five: Once all updates/changes have been made to your LP, make sure to hit “Update” on the right-hand side of the page. This will save all of your changes. To see the changes you have made once you’ve clicked the update button, make sure to do a hard refresh on the frontend. All of your new changes should appear once that is done.